Whether you’re a business owner, SEO specialist, marketing guru, site administrator, web developer, or even an app creator, learning how to set up Google Search Console is essential to understanding trends displayed by your target audience. Knowing what your target audience is searching and then utilizing this information to drive traffic to your website increases the chance that more users will inquire about your products or services.
Setting up a Google Search Console (GSC) account is free to everyone and is fairly simple, but there are a lot of steps. This can make it seem more intimidating, however with the help of this blog, soon you too can have a GSC account set up in no time! Keep reading to learn what exactly a GSC can do to benefit your business, and how to create your own account.
What is Google Search Console?
One of the most powerful tools every business should be investing time into is learning how to set up Google Search Console. This free platform within Google allows you to monitor how search engine users view your website, and it helps you better understand ways in which you can optimize your current organic presence.
GSC is such a powerful tool because it can:
- Monitor website clicks and impressions
- Tell you which search queries drive traffic to your website (this is great for identifying new SEO tactics!)
- Identify backlinks to your website
- Add sitemaps
- Locate any errors
- Help make your website mobile friendly (very important in today’s world)
- Monitor core web vitals
- Show if your website has been hacked, or is in danger of being hacked
If you’re ready to create your own account, then follow along this step-by-step guide to learn how to set up Google Search Console for your business!
How to Set Up Google Search Console
Now that you know all the ways GSC can be used, it’s time to create your account. We recommend setting aside 30 minutes to an hour to thoroughly set up your account.
Step 1: Sign up
Before signing up for a GSC, you’ll need to have a Google account. Most people have an account through Gmail, but a Google Analytics or an Adwords account will also work! If you don’t already have a Google account, we recommend quickly setting up a Gmail for your business. After signing into your Google account, the first step for how to set up Google Search Console is to simply search Google Search Console in Google.
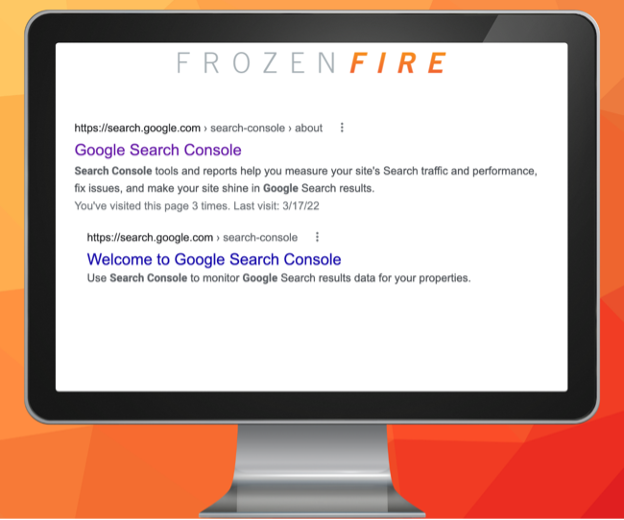
From here, click the “Start now” button!

Step 2: Type in your website
After clicking “Start Now”, you will be taken to a page that will ask you to select either “Domain”, or “URL Prefix”. If you don’t know which one to pick, don’t panic! We typically recommend our clients choose domain, and here’s why:
- A domain is essentially just the name of your website. So, for example, Frozen Fire’s domain is frozenfire.com. Typing in your domain allows for GSC to monitor all pages, subpages, and more within your website. This is important because when you’re leaning how to set up Google Search Console, you want to improve every part of your website, not just one page!
On the other hand, choosing just one URL limits your GSC abilities because you are telling Google that they can only monitor this one page (for example: your homepage) and nothing else. However, if this is the route you would like to take, scroll down further for more directions.
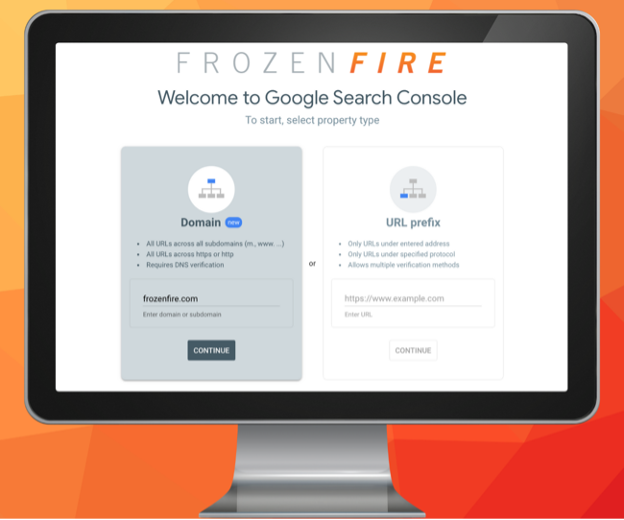
After typing in your website’s domain (hint: don’t type http://, www., etc.), you can then click continue.
Step 3: Verify your website
GSC allows for any business to view valuable insights into their website’s performance, but for anyone else, this information is confidential. This is why GSC asks you to verify that you own this website when you’re learning how to set up Google Search Console.
There are a few ways to verify your website depending on which property (domain or URL) selection you chose.
If you typed in your website’s domain, after hitting continue then you will be taken to this screen:
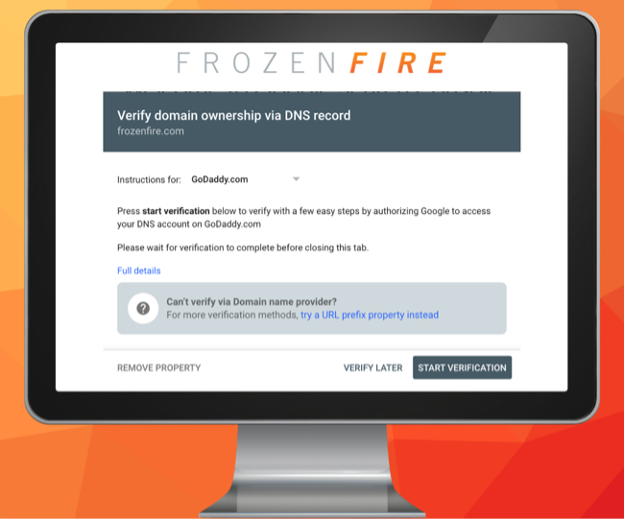
This is where you will need to remember where your domain is registered. Each DNS provider will have different directions, so all you need to do is click the drop-down button next to “Instructions for” to find your specific directions.
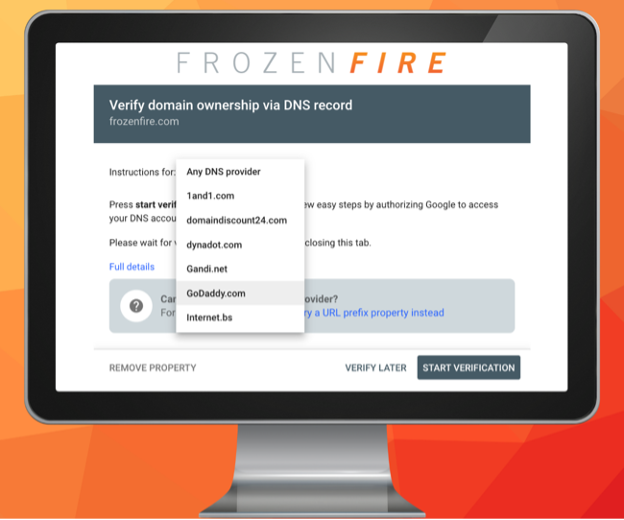
If you do not see your DNS provider listed, select Any DNS provider.
After selecting an option, click the “Start Verification” button. From here you will be asked to log into your account in your DNS provider.
If you chose to use a URL prefix instead of the domain, this is how to set up Google Search Console:
Option 1: HTML file
This step requires direct access to your website’s root directory. If you do not have access to this, or do not feel comfortable doing this step on your own without a website developer, we would suggest moving on to option 2.

To complete this step, start by downloading the file provided. Then, log in to the backend of your website. Once you are there, you will be able to upload this to your website under “files.”
After uploading the file, return to GSC and press the “Verify” button!
Option 2: HTML tag
To verify your website using the HTML tag, you will need to add a meta tag to your site’s <head>.
If you’re site is hosted through WordPress, you can either add this tag directly to your header.php file, or you can use a plugin. Again, for this option, using a plugin is may be the best option if you are not comfortable navigating your website’s server while still learning how to set up Google Search Console.
To add the tag using a plugin, login to your site’s WordPress admin page. (Tip: type in your website into the URL search bar, and then add /wp-admin at the end to reach this page).
After logging in, find the “Plugins” stab on the left side of the menu page.

Install this plugin by clicking the “Add New” button, and then the “Upload Plugin” buttons at the top left of the screen.

Then, after the plugin has uploaded you can find it labeled as “Yoast SEO.” Click this page.
Select the “Webmaster tools” tab at the top, and then scroll down to find the box labeled “Google verification code” and type in the html tag.

Don’t forget to click the “Save changes” button at the bottom of the screen!
Go back to GSC and click “Verify”.
Option 3: Google Analytics
This option only works if you already have a Google Analytics account and installed a tracking code on to your website. If you have already done this all you need to do is press the “Verify” button on the GSC screen.
Option 4: Google Tag Manager
Similar to option 3, this step only works if you already are using Google Tag Manager. For this step all you must do is click the “Verify” button on the GSC screen.
Step 4: Submit your sitemap!
Now that you’re verified and have a GSC account, the final step in learning how to set up Google Search Console is to submit your sitemap.
This is important because this will allow for you to receive the most accurate SEO results, which is exactly what you want!
Usually, you can find your site’s sitemap buy adding “/sitemap.xml” at the end of your domain. However, if this doesn’t work, you may need to check your content management system settings to see if it is creating a sitemap for you.
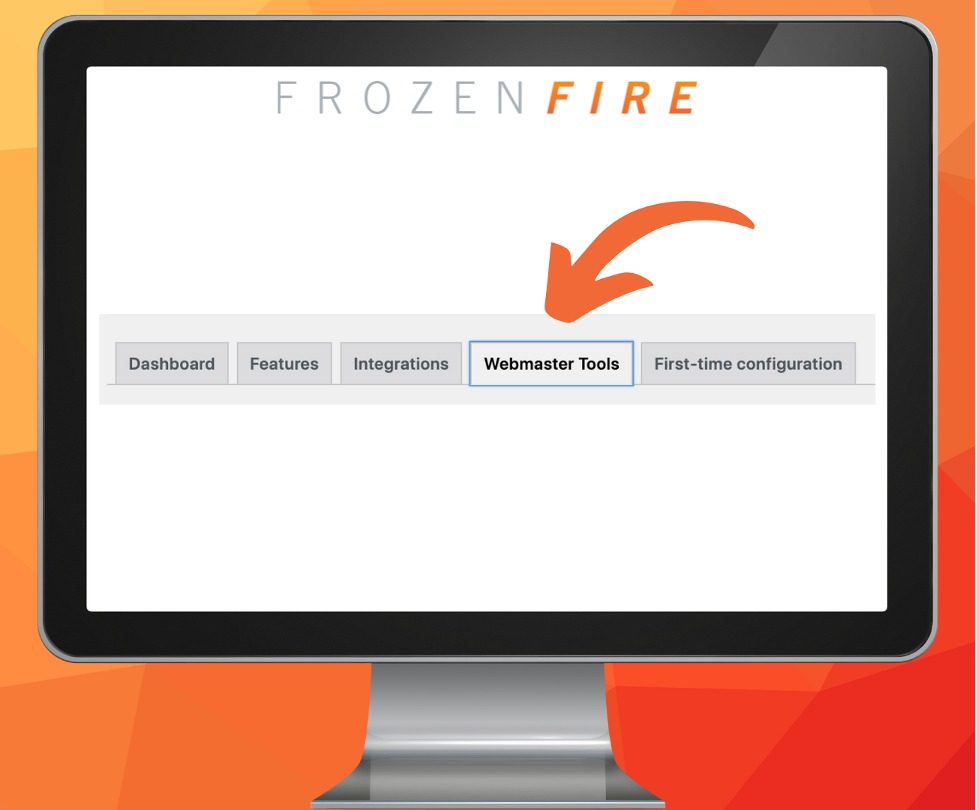
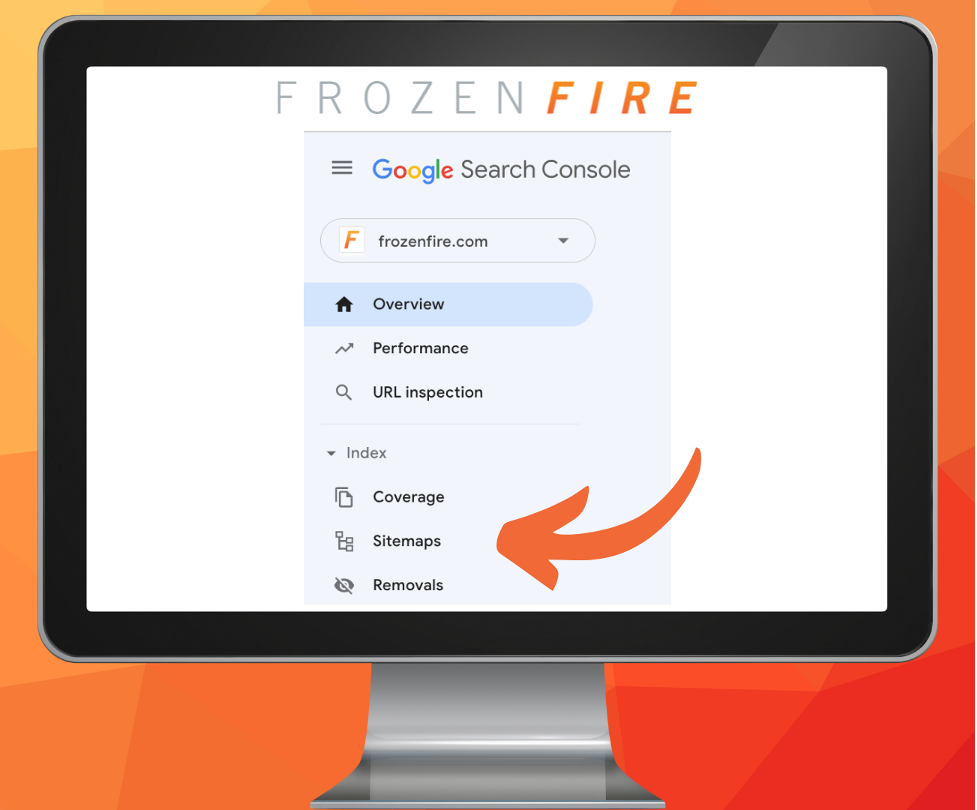
Once you have your sitemap, then go to the left side of the GSC screen and find “Sitemaps” under the “Index” dropdown.
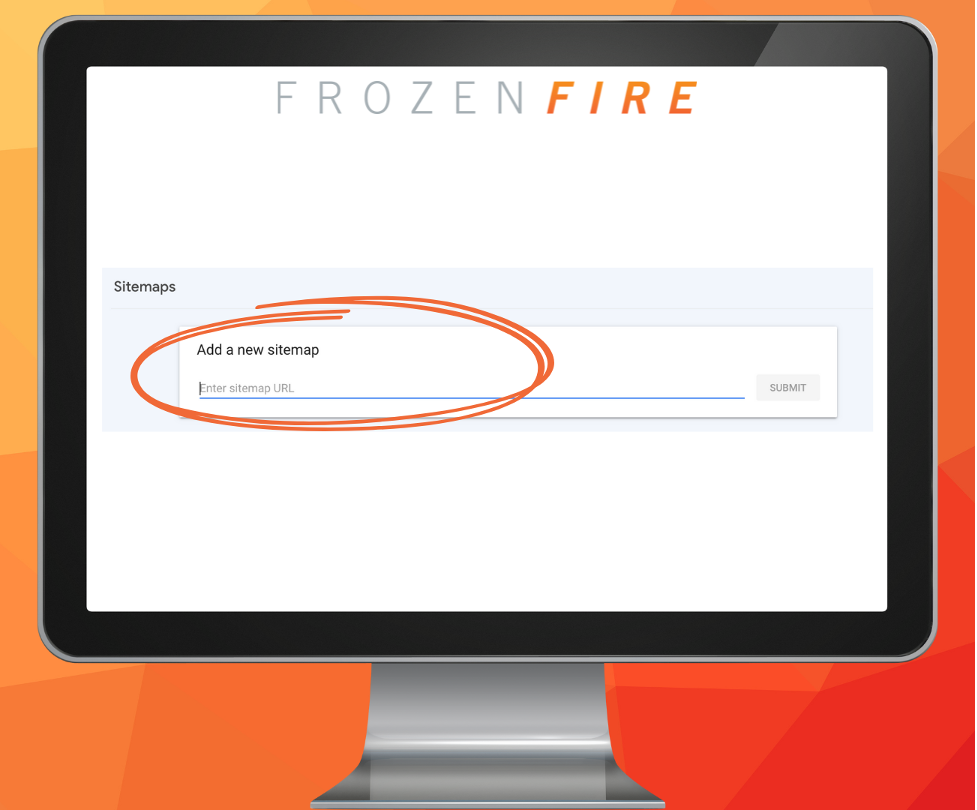
Paste your site map into the textbox and press submit!
After a few days Google will have gathered enough data to provide valuable insights into your website’s performance!
Contact Us
Now that you know how to set up Google Search Console, what’s next?
Frozen Fire is a full-service marketing and video production agency with locations in Texas and Colorado. Our team of expert marketers can help your business get found, look good, engage with your target audience, nurture relationships, and analyze data to increase business. If you have any questions about setting up a Google Search Console account, or if you want to connect with us about future projects, then make sure to contact us today!